Enable User Assigned Managed Identity for Elastic Job Agent (Recommended)
Optional
This section guides the recommended practice of integrating a user-assigned managed identity with the Azure Elastic Job Agent. This approach enhances security and streamlines authentication processes within your Elastic Jobs environment.
Create User Assigned Managed Identity Resource in Azure
This step outlines the process of creating a user-assigned managed identity within the Azure portal. If such an identity already exists, skip this step. However, if the identity is not present, proceed with creating it. Once established, this managed identity can be associated with the Elastic Job Agent, facilitating secure authentication with other Azure resources.
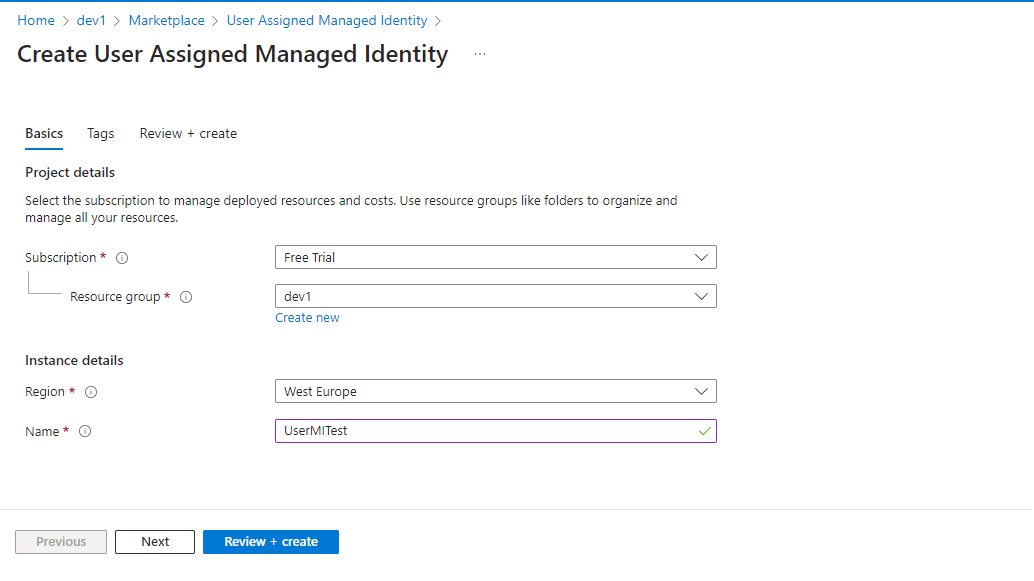
- Navigate to the Azure portal and create a User Assigned Managed Identity resource here.
-
Provide a name for the UMI, review the options, and click ‘Review + create’.
Add User Assigned Managed Identity to Elastic Job Agent
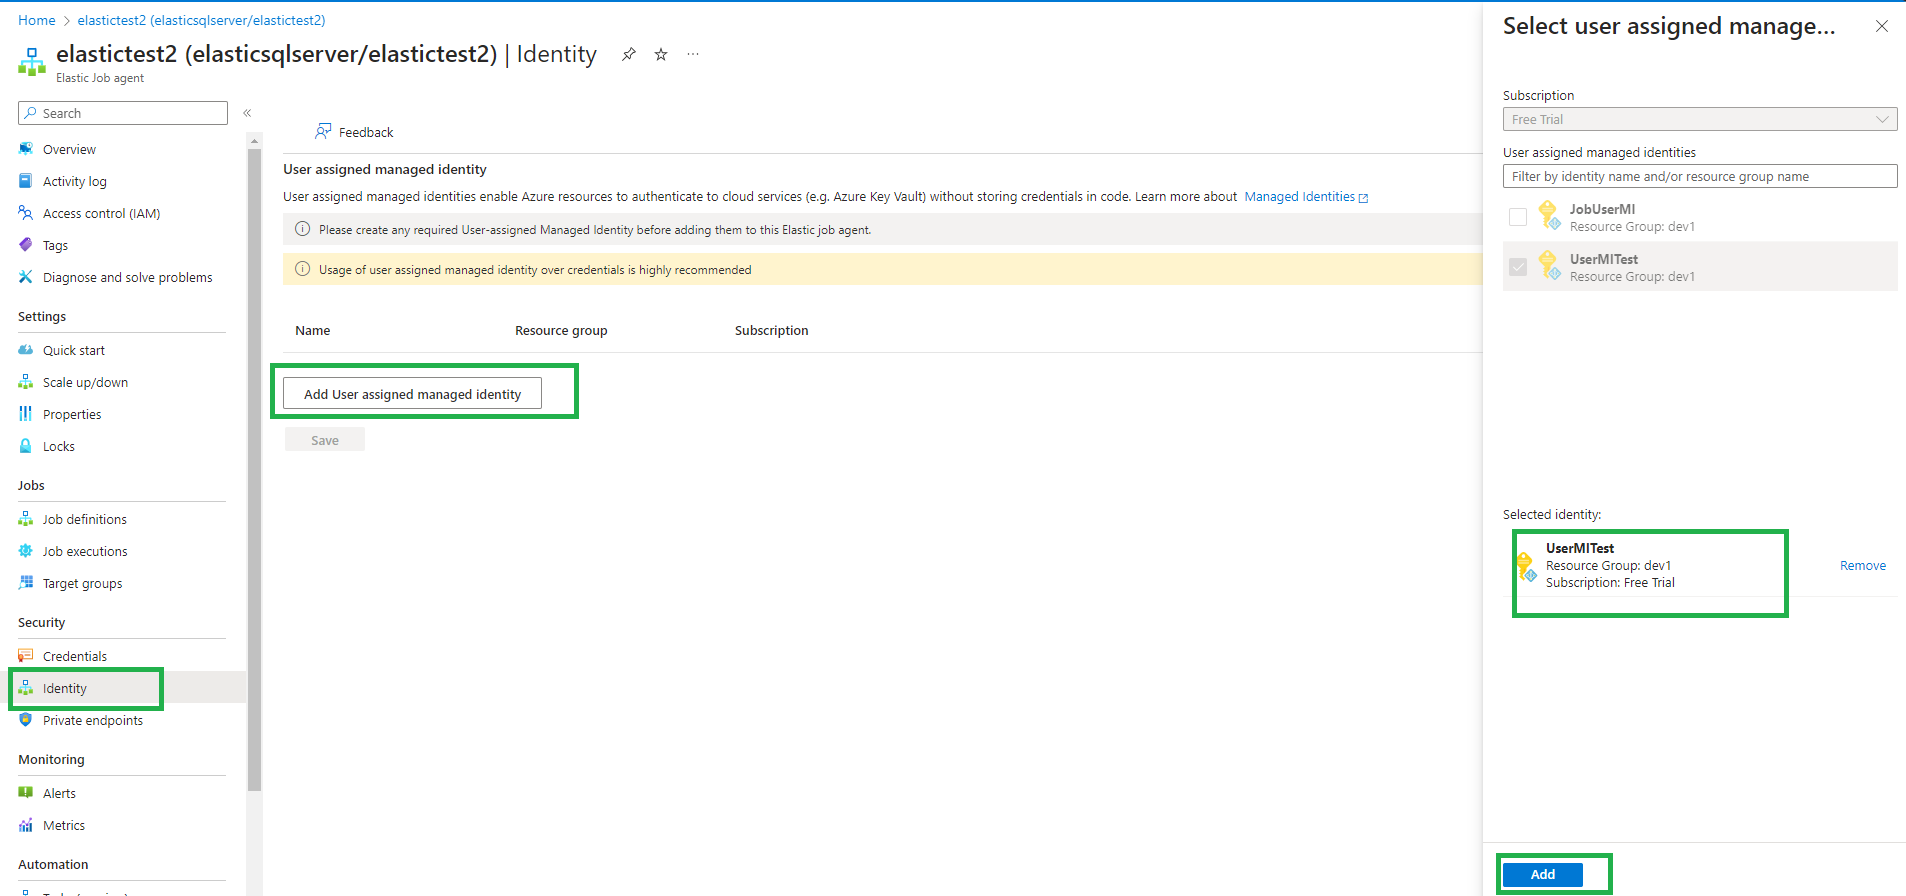
- Access the Elastic Job Agent resource in the Azure portal. Navigate to the ‘Identity’ option under the security section.
- Click the ‘Add User Assigned Managed Identity’ button.
- Select the desired UMI from the options and click ‘Add’.
-
Save your changes.
Only one UMI can be added to an Elastic Job Agent.